No-Till Method from Scratch: How I Create Healthy Soil
When it comes to growing food, no-till gardening is gaining attention, and for good reason. In this article, I’ll share what the no-till method is, why it matters, and walk you through my step-by-step process for building healthy soil and forming new garden beds, right from scratch.
This post contains affiliate links, which means I may earn a commission from qualifying purchases at no extra cost to you. See my full disclosure here.
Note: This guide is focused on home gardeners, though the principles apply to a wide range of till systems, from small-scale no-till agriculture to field-scale cover cropping. While this isn’t an exhaustive guide to all till methods, it highlights the benefits of no-till practices based on my personal experience. Every gardener has a unique context, and the no-till approach is a flexible, natural method that can be adapted in many ways.
What is the No-Till Method?
No-till gardening means avoiding the disruption of soil through mechanical tillage. Instead of turning the soil with a tiller or garden fork, we use layers of organic materials, mulch, and cover crops to build fertile soil. Unlike conventional tillage or other till approaches, no-till systems leave the top layer of soil largely undisturbed, preserving the natural soil structure and the vital ecosystem of soil organisms and microbes.
No-till methods foster nutrient cycling, retain soil moisture, and improve soil fertility without the heavy labor of till farming. These natural processes also help home gardeners reduce weed growth, build loose soil for planting, and support better crop rotation practices over time.
Note: No-dig and no-till gardening are very similar. No-dig often uses compost, while no-till may rely more on wood chips and organic mulches. I blend both methods.
The Problems with Tilling
Conventional tillage may seem like a quick fix, but it comes with long-term consequences:
- Soil disruption breaks up soil particles, destroys the microbiome, and harms soil organisms.
- It releases carbon dioxide, contributing to global warming and reducing carbon sequestration.
- Weed seeds are brought to the soil surface, encouraging weed growth.
- Soil compaction can worsen over time, especially under heavy rain or foot traffic.
- Tilled soil loses fertility faster and is more prone to soil erosion.
- Synthetic inputs often become necessary to compensate for poor soil conditions.
Tilling also interrupts the symbiotic relationship between plant roots, fungi, and soil microbes, which are essential for long-term soil health.
Why I Choose A No-Till Method: The Benefits
- Fewer weeds thanks to sheet mulching and cover crop mulch.
- Less work overall, especially when forming new garden beds or managing till beds.
- Healthier soil from minimal disturbance and steady nutrient cycling.
- Improved soil structure for better root crops and higher yields.
- Better soil moisture retention with a consistent mulch layer.
- Resilient soil fertility, even in low organic matter areas.
- Fertile soil over time, even in areas with poor or compacted soil types.
The no-till approach is a good idea for nearly any garden, especially if you want to work with your soil, not against it.
My No-Till Method: Step-by-Step
If you’re creating a new garden bed, here’s how I recommend starting:
Lay Out the Area
Choose the size and shape of your new garden space. Use bamboo stakes, twine, or other markers to outline the bed.
Smother with Mulch
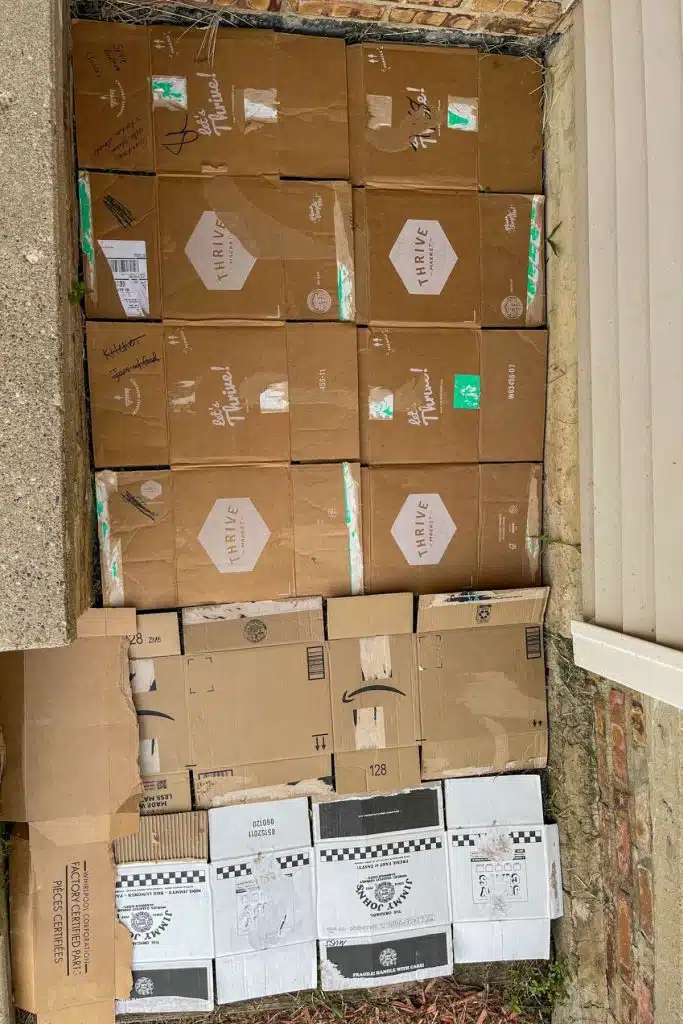
Begin with sheet mulching to suppress perennial weeds and grass. Use a layer of cardboard as a base to suppress weeds and grass.
Tip: Avoid cardboard with chemical coatings. A quick oil drop test can help: if the oil soaks in, it’s likely safe.
Alternatively, simply skip to the next step if you’d rather apply a thick mulch layer to smother what’s beneath than use cardboard. I’ve done it both ways.
Oh! And make sure you get all the stickies off the boxes as they won’t break down!
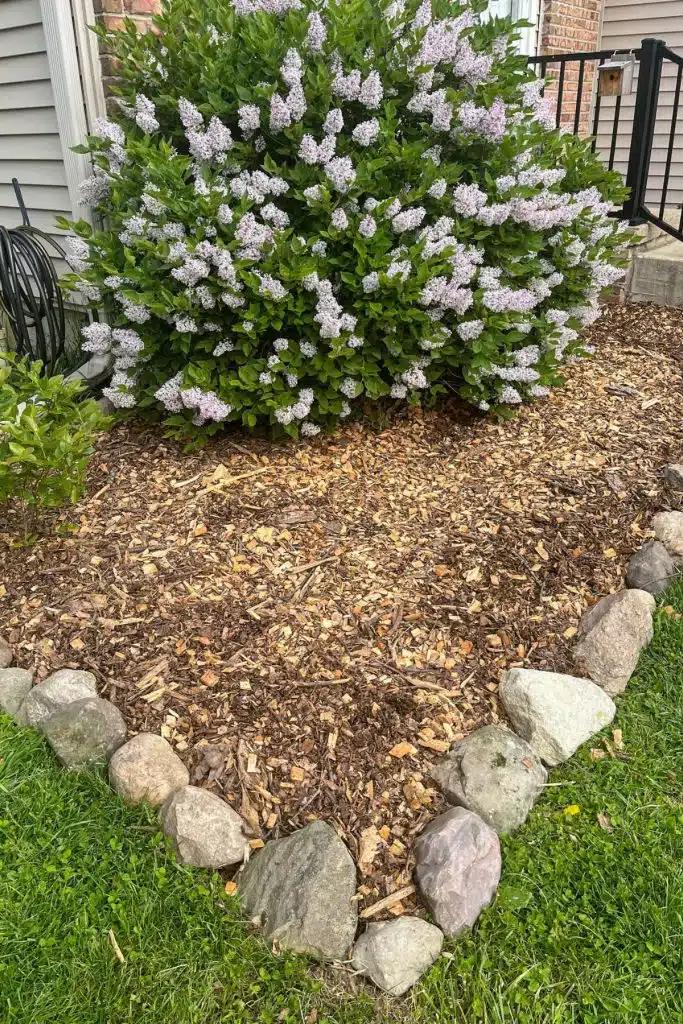
Build Layers of Organic Materials
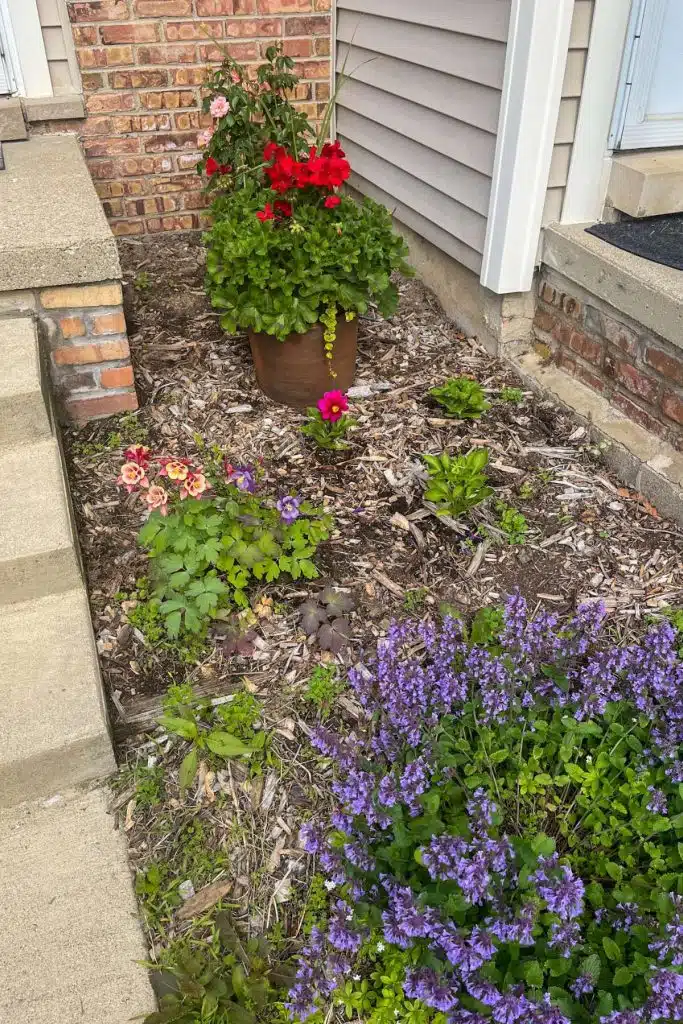
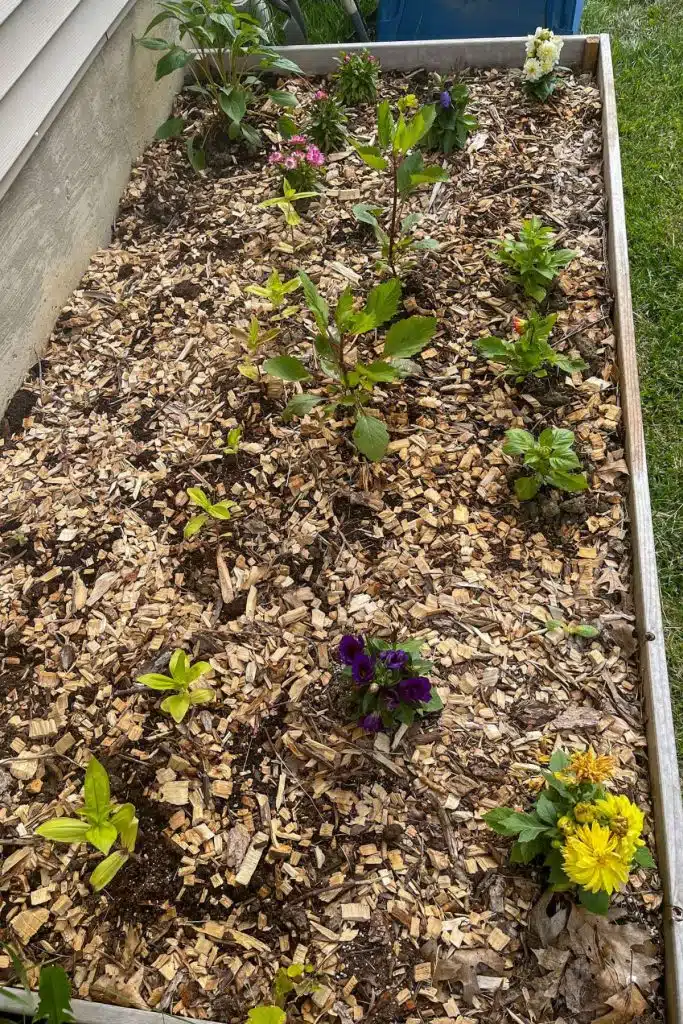
Add compost, followed by layers of plant residues, grass clippings, leaves, straw, or wood chips. These materials mimic natural decomposition, building layers of organic matter and improving garden soil without disturbing the soil surface. This lasagna bed mimics the Back to Eden Method and Ruth Stout’s gardening philosophies. Each layer contributes to the formation of healthy soil while feeding soil microbes and improving the structure of the soil.
Define Beds and Walking Paths
Keep foot traffic off garden beds to avoid compacting the soil. This preserves the network of plant roots and soil organisms working beneath the surface.
Water and Wait
Thoroughly soak your new bed. Over time, the layers will settle and begin transforming into fertile, loose soil through natural processes.
What Happens Next?
Over the next few weeks and months, your mulch and compost will begin breaking down. This slow decomposition enhances soil conditions, especially if you prepare the bed in advance, giving time for it to meld with native soil.
Some gardeners plant directly into new beds, especially when using shallow-rooted seedlings or direct seeding. If you are using cardboard, this might not be the best idea, as the roots likely can’t penetrate cardboard that hasn’t been at least partially broken down. For larger root crops, you may want to wait until the material breaks down more fully or add depth with compost to accommodate the plant roots.
Keep It Going with Cover Crops
Bare soil is vulnerable to erosion and weed invasion. To protect your garden during the off season, consider planting cover crops like crimson clover, fava beans, or rye. These not only help with weed control and soil fertility, but also contribute to carbon sequestration and improved soil quality.
Cut them down in the spring before they go to seed. You can do this with a roller crimper or mower to turn them into mulch, an excellent non-mechanical approach that benefits the soil.
When to Start?
In my opinion, the best time to begin is early fall, allowing your lasagna layers to break down over winter. But if you’re inspired now, start today. Early spring is also a great time to build beds, especially if you’re transitioning from till agriculture to no-till gardening.
Is A No-Till Method Right for You?
No-till gardening is an adaptable, sustainable method that works for agricultural field crops, backyard gardens, and everything in between. It’s one of the most effective alternative methods for maintaining soil health, reducing the negative effects of tilling, and working in harmony with natural systems.
Whether you’re a beginner or following in the footsteps of the Rodale Institute, Charles Dowding, or a growing number of farmers adopting zero tillage, this method is a good option, especially in your first year, when building strong soil systems matters most.
Be Patient
No-till is a long game. Your first season might still come with weeds or uneven patches, especially if your soil has a history of conventional tillage or low organic matter. But with time, consistency, and care, your garden will reward you with higher yields, less work, and healthy, undisturbed soil for years to come. And for some real life, check out this post that I wrote while I was mid-bed creation!
Happy growing!